
Our Paws For Thought Pet Care Guides cover a range of subjects from growing greens for your pets to making your own recycled water bottles. Please get in touch if there is anything you would like us to add!
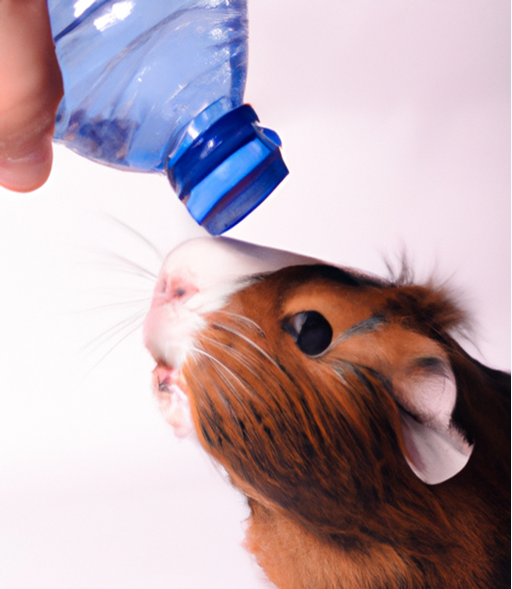
DIY Drinking Bottles
At Ecoshred Bed, we've done our homework and tested out a ton of nipples (yes, you read that right) and drinkers to find the best one that won't leak all over your floors. We've found an inexpensive drinking end nipple to reduce water wastage, so your pet can still enjoy their drink without leaving a trail of chaos behind them. What’s more we are offering Ecoshred Bed customers a chance to try this for free (limited to one pack per customer). Just click on the free water drinker pack when ordering your next bag and it will be placed inside your dispatch envelope. Limited to one per customer.
Not only is making your own pet water bottle eco-friendly, it's also practical – no more spilled water! Plus, it'll save you some cash and make use of materials that would otherwise end up in the trash.
Assembling our eco-friendly pet drinking bottle is a breeze – even the DIY challenged can handle it! So let's not just reduce plastic waste in human care, let’s work together to give our furry friends a healthy and green future too. At Ecoshred Bed we believe pet care shouldn’t cost the earth.
As usual proper cleaning and maintenance of your pet's water bottle is crucial to ensure their health and safety. However, these nipples can be easily taken off and transferred to another bottle if the one you have is getting a bit pet weary. But we're not just recycling materials here – we're using top-notch sustainable options to create our eco-friendly pet products. So go ahead and feel good about your purchases with us.
Choosing eco-conscious products isn't just good for the environment, it's good for the animals who call it home too. Trust us, our recycled pet drinking bottle is a game-changer for small pets. It's easy to use, sustainable, and you'll get a warm fuzzy feeling seeing your pet drink from something you made yourself. After all Pet Care shouldn’t cost the earth.
In conclusion, every little decision counts when it comes to taking care of our planet and our pets. So let's start by making a simple change and choosing an eco-friendly option for your pet's water bottle. Follow the instructions and check out the video below 👇
Materials
- 1, 150ml drinking bottle emptied and cleaned out
- 1, drinking end nipple (Ecoshred Bed have tested these and only keep the best non drip ones).
- Something to hang your bottle on the cage or hutch. Ecoshred Bed also provide a simple bottle hanger in the kits but please use what you are comfortable with to hang your bottles
Tools
- 1, drill (borrowed or preowned hopefully, belonging to a DIY champion).
- 1, 11 mm spanner for screwing and unscrewing the nipple ends off the bottles
- 1, drill end to cut holes in the bottle, needs to be 9mm, can be supplied by Ecoshred Bed as part of our bottle making kits.
Instructions
Put the drill end on the end of your drill
Take your bottle and drill with a hole in the bottle of the bottle right in the middle spot in the centre. 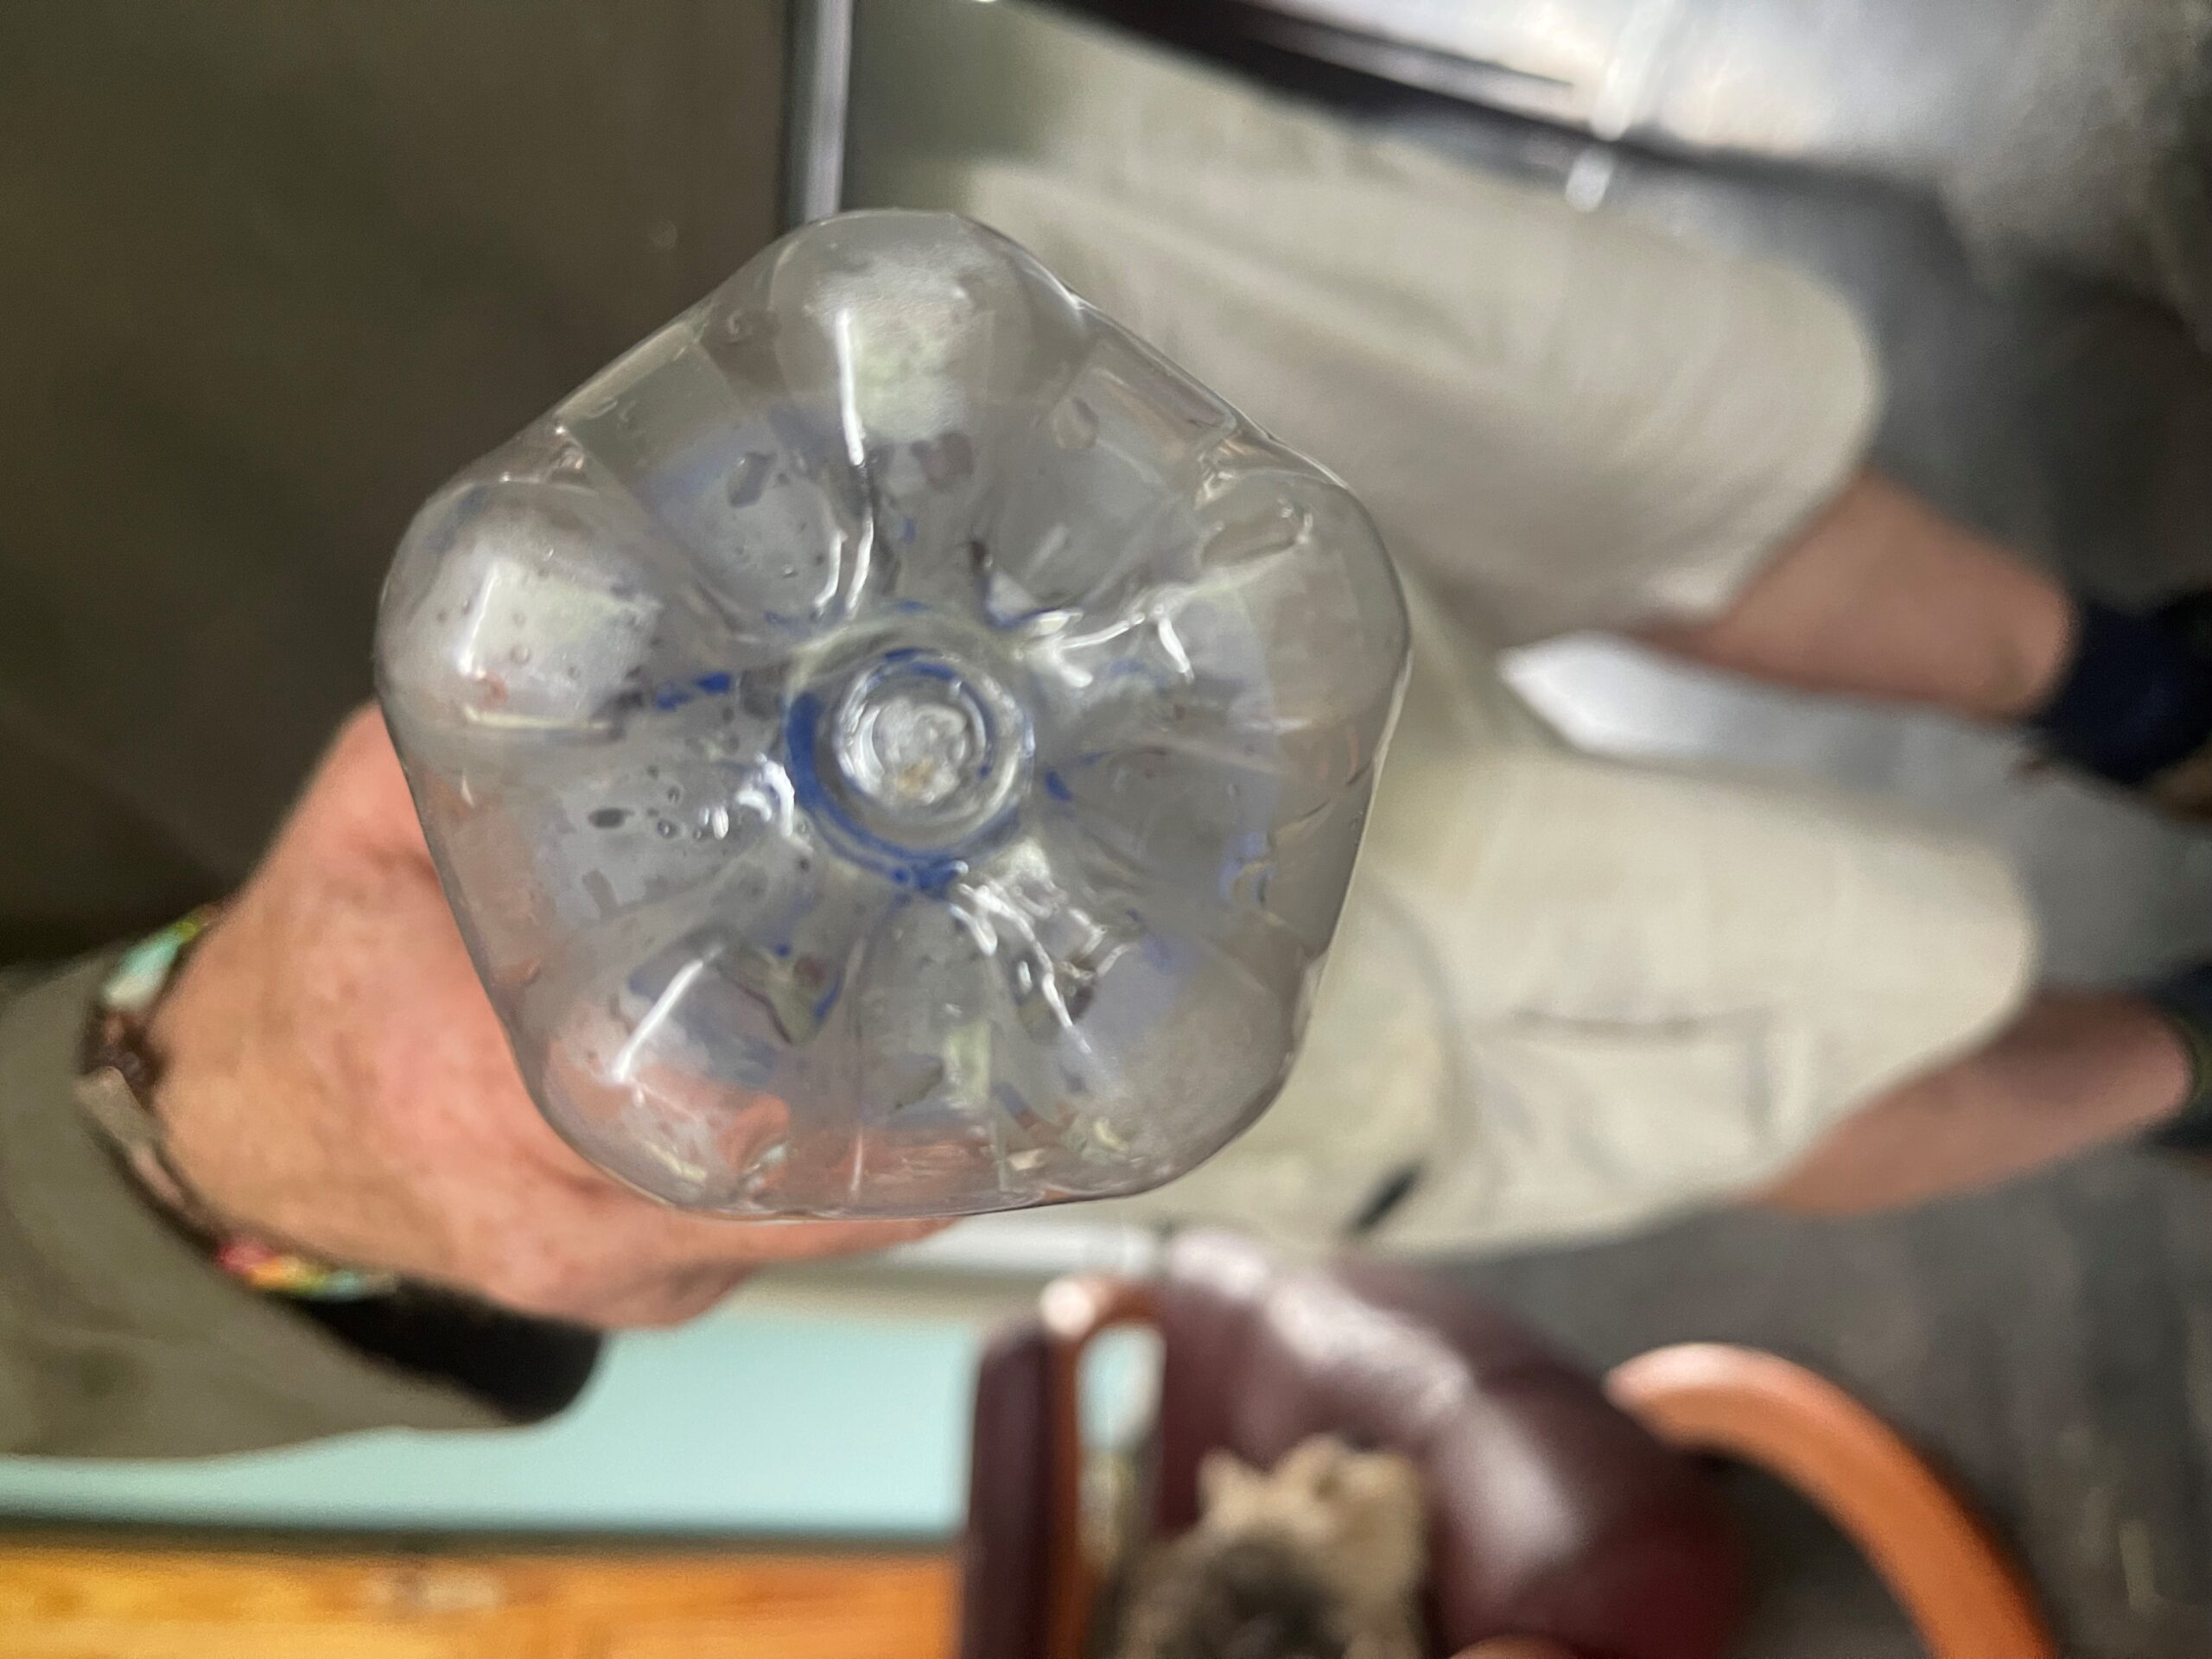
The hole needs to be 9mm for the nipple to screw in tightly. So keep an eye on that you have a 9mm drill bit when drilling the hole. If you don't your bottle will leak!
Take the drill and drill another hole in the lid of the bottle. This does not need to be accurate in size it just needs to be a hole. This MUST BE DONE because the nipple end needs air or it Will Not Work! Your pet will not get any water out of the nipple, they require air to let the water down.
NOW wash out the bottle washing out any loose plastic fragments from the drill BEFORE you screw in the nipple
You can screw the nipple into the lid or the bottom. We tried both ways and choose the lid as it is easier to fill the water and hang the bottle from the lid than the bottom.
Screw your nipple in, using your 11mm spanner and fill your bottle from the lid with fresh water 3/4 full should be plenty.
Test your nipple by just gently tapping it and the water should come out. The screw should be tight in the bottle, so no leaking.
You can unscrew the nipple with the same spanner (11mm) if you want to take it back off and place it on another bottle.
Hang the bottle in the enclosure with the clip hanger supplied by Ecoshred Bed or your own method of hanging.
Feel fantastic that you've just made your first pet drinker and made use of plastic that was designed for single use into something super long lasting!
Notes
Can be used for
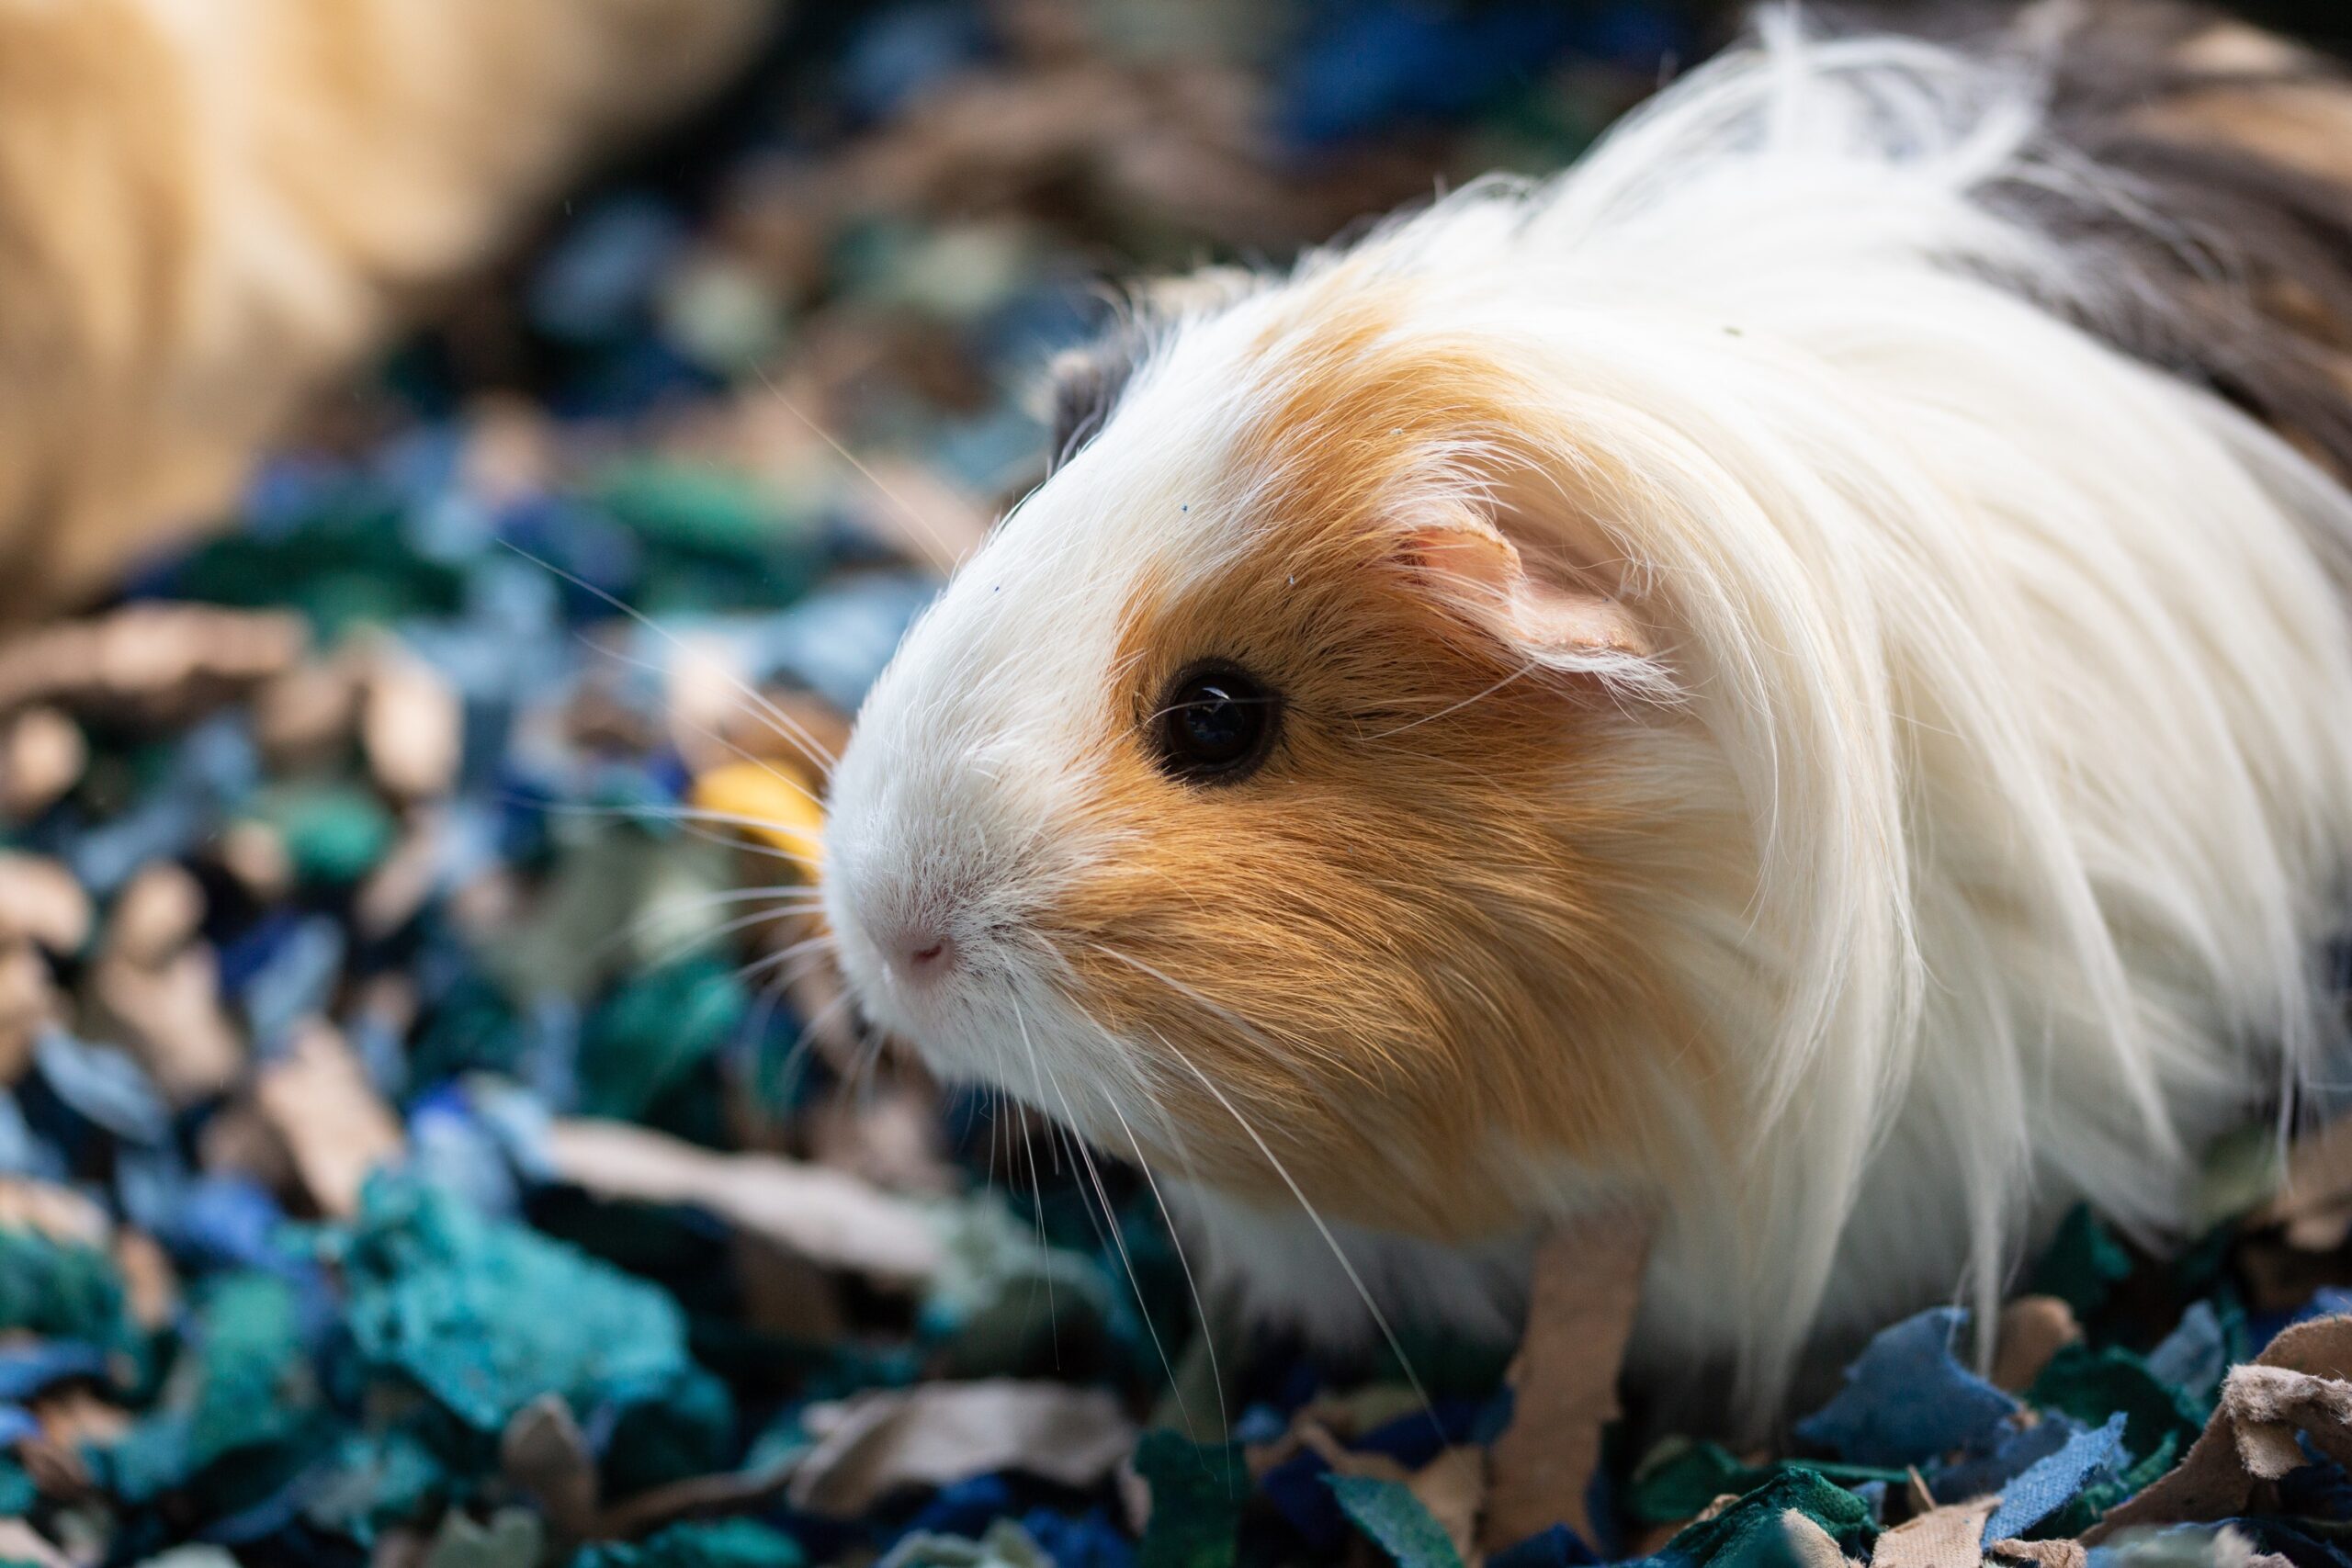
- Rabbits
- Guinea Pigs
- Hamsters
- Poultry
- Rats
- Mice
- Chinchillas
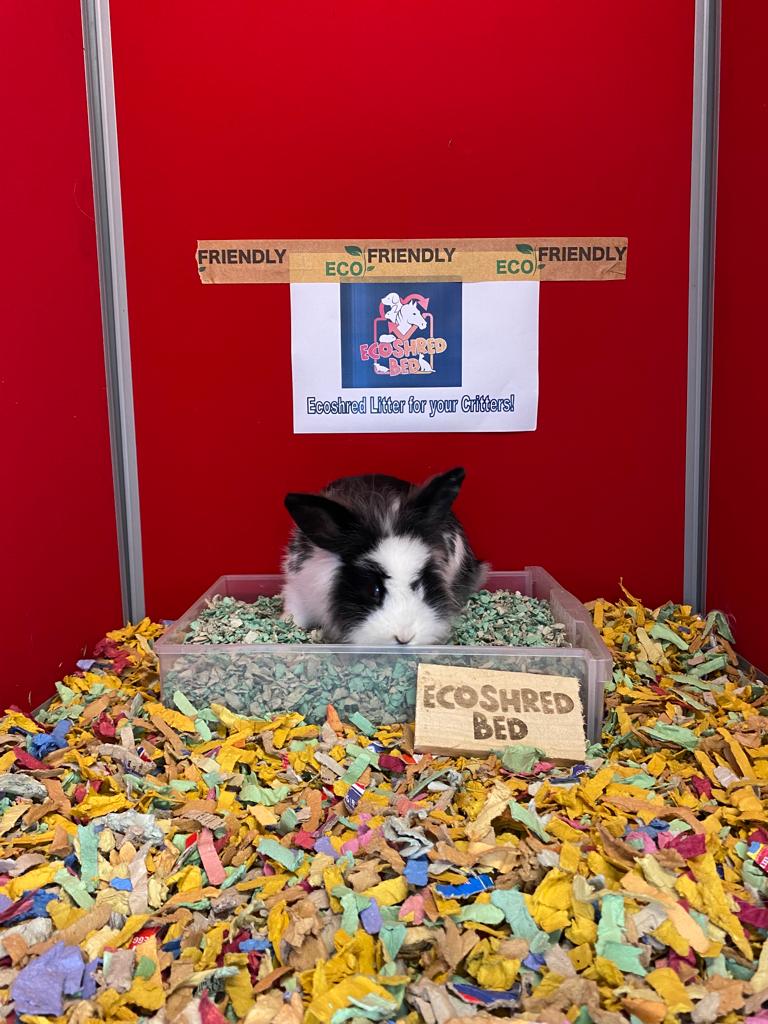
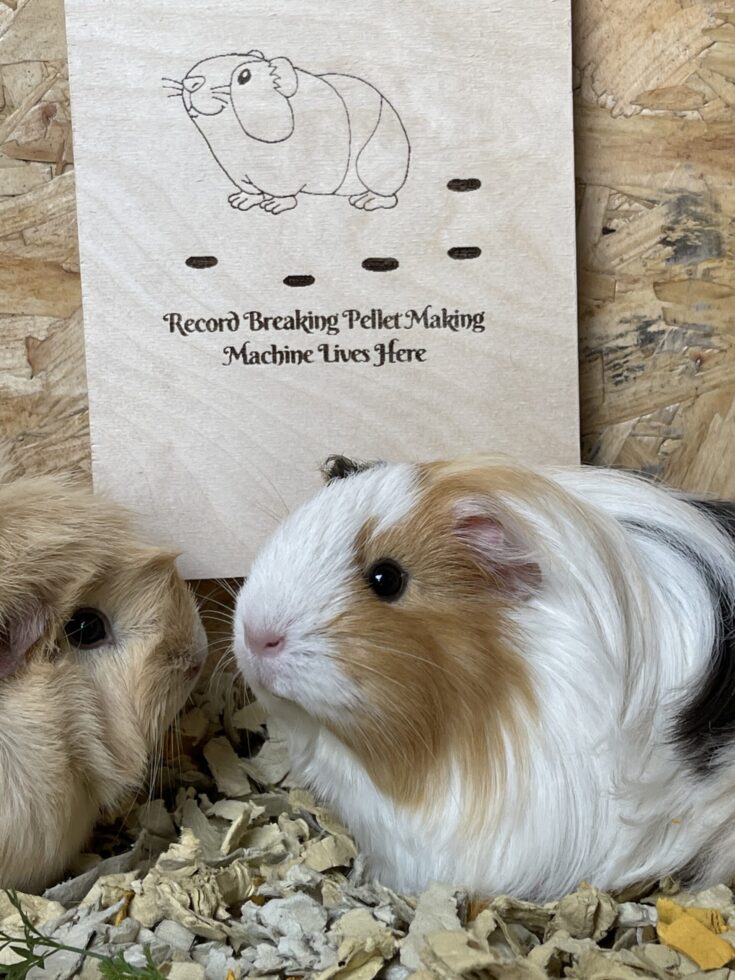
How to clean out Ecoshred Bed
Ecoshred Bed is designed to last you longer. When you do need to clean it is normally to clean out completely. Clean out soiled hay in between cleans but do not remove the Ecoshred Bed until it is soiled. Check underneath for signs of it getting damp. Ecoshred Bed will dispserse the Poo so your animals are not standing on it. If you clean it out too regularly it will be difficult for Ecoshred Bed to do it's job and will cost you extra money. Most pet owners leave 10 days between changes.
Materials
- A biodegradable bag like a kitchen waste bag
- Gloves
Tools
- Small cleaning shovel
Instructions
- Wear your gloves. Some people just prefer to use their hands to lift out the bedding.
- Place the soiled bedding into a compostable bag.
- Use the shovel to clean the floor of any left bedding or Poo.
- Ecoshred Bed is biodegardable so the whole lot can be placed into the compost bin or spread onto plants for compost and/or extra heat in the cold weather
Growing Homegrown Sprouts For Your Pets
Ecoshred Bed are all about recycling. Not content with making our very popular recycled pet bedding we wanted to go a step further and show you how you could recycle it again to grow delicious greens for your pet.
Find out in this article how we did this and learn everything you need here to do this yourself!
Straight away we would like point out we have no magic green fingers and there is no complex formula to this. We have simply tried a few times to test an idea, verify it’s safety and share it with you all when we feel it is working and you will benefit from it.
Let’s face it with the growing costs of providing everything for our furry friends what is the harm in looking into cheaper and more environmentally friendly options to provide our pets with their needs?
So what do we need to grow some greens?
- A seedling tray, some people use old trays they have lying around, recycling is best!
- Heat, this can be provided in the summer time by placing the seed trays in the sun or on a sunny windowsill. However, in the winter we need about 10 degrees of heat to help seedlings to sprout and grow. This will require a heat pad to be placed under the tray.
- Used bedding from your pets hutch, their poop/pee is no issue as it’s extra fertiliser!
- A growing mat. We use Flax growing masts as they are more hygienic and environmentally friendly than the coconut ones.
- A light source, sunlight will do, or if you live in a cave you will need to use a source of light from a light bulb. Go LED if you can, its cheaper, more environmentally friendly and is a great light for growing.
- Water from a watering can a small household one will do the job
- Seedlings, you can use grass seed or whatever vegetable your furry friend loves, like lettuce, peas (mine love pea sprouts) alfa a, you can mix their favourites in the one tray, we use a grass seed and lettuce seed mix, the lettuce seed sprouts fairly quickly and you don’t have to have a fully grown lettuce before feeding. we choose organic seeds so we know they have no nasty chemicals on them.
- A little bit of ground or window space for everything to sit on
So here we go with the complicated instructions (joking). We did this the most simple way possible to prove it can work:
- Clean out your pet and load the bottom of your trays to about the half way mark with their used bedding. Put a grow mat on top.
- Add your seedlings to water to give them a good soak then scatter them over your grow mat a good area of coverage.
- Water again without drowning it, once you’ve wet the grow mat squeeze excess into the bedding it will stay pretty wet without repeat watering. However, check on your tray and if the bedding that the seeds are sprouting in is drying out you will need to water again (lightly, don't soak).
- Place trays on the heat mat, or in a warm room or windowsill, as long as they have some heat they will sprout. Remember In the summer with over 10 degrees you don’t need a heat mat at all. It does not need to be 10 degrees all the time don’t panic if the night time temperatures dip a bit this is normal in nature and your seedlings will be fine.
- Place in some natural light or if you live in a cave make sure you have your trays in a room were the lights are on a few hours a day.
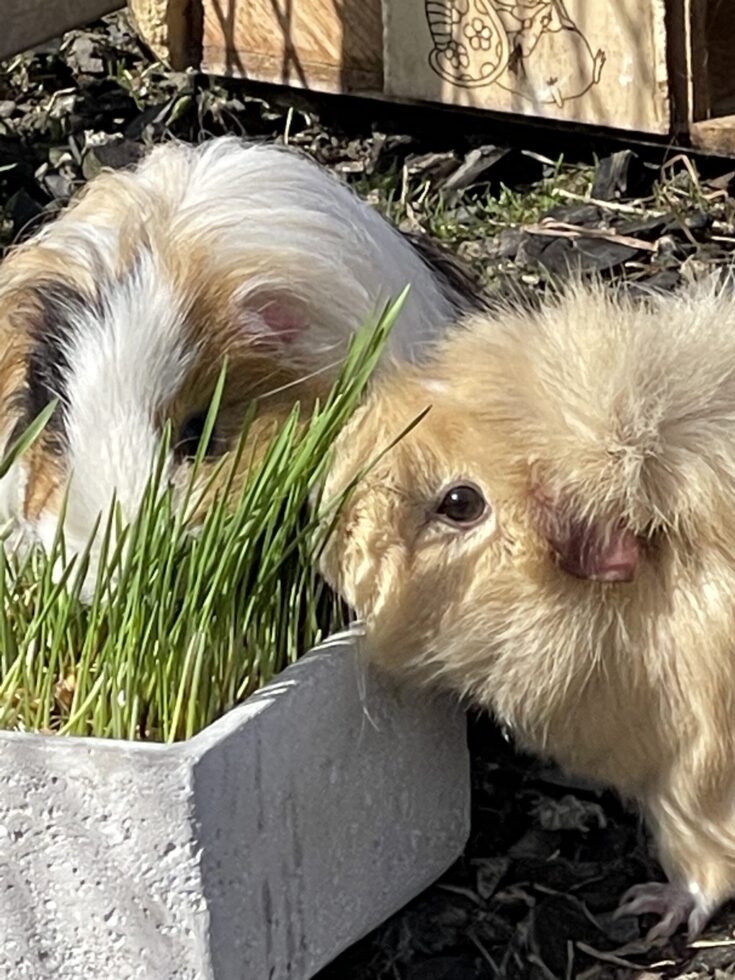
Sit back, get back to cuddling your furry friends for about eight to ten days and allow nature to grow you some greens.
When you are happy with the growth rate, lift your tray and set it in with your pets. Once they have munched the whole lot place the tray back on the heat mat, add a bit more water, and wait a few days for regrowth. If you see any bare patches throw in a few more of your seeds at this regrowth stage.
Voila! A working ecosystem that won’t solve every problem you have but will give you a warm fuzzy feeling that you are an environmental champion, and you are saving your pocket and the planet on your mission to provide healthy delicious greens for your pet. Enjoy your pets tucking into a delicious treat that you made for them!
Message us for more information or see below on where to get the items you need to grow your delicious pet greens! Please comment, like or share if you enjoyed this article or send us a message here if you have more questions!
Since you are here we want to share our vision of the future for our community which is what we are all about. Everything at EcoShred Bed made at our social enterprise Behind The Stable Door. Please see the about us page to look at the work going on here. Sadly our research is not free for us and we have no funding to help drive the lasting change we really want. Please contact us here if you think you might like to partner with us or help us, we love collaborating with communities and businesses on how we can grow our social and environmental impact together! Also, anything you purchase from us will automatically support our environmental and social mission so we are very grateful if you would check out our shop before you go!Materials
- Wheatgrass Seeds (or alternative growing seeds)
- Growing Tray
- Used Bedding
- Heat and Light
Tools
- A heat pad for colder weather
Instructions
If using The Ecoshred Bed Kits instructions as follows:
1. Place the organic seeds from the packets into water. Submerge them for 24 hours this helps seed up the sprouting process.
2. Place your used bedding at the bottom of the ceramic tubs
3. Put your grow pad on top of the bedding and water it until it is soaked, let excess water drain into the bedding.
4. Spread your seeds out as evenly as possible.
5. Place on mantelpiece in a light source with some heat. In winter you will need a heat pad.
6. Lightly water twice a day for eight days then they are ready to feed.
6. If the pets just nibble the green sprouts and leave the seeds in tact you can regrow a few times, so place the tray back on the windowsill and repeat just light watering until you have regrowth.
How to keep pet housing clean and free without the use of chemicals
Ecoshred Bed is dedicated to providing you with effective and safe solutions for your pets, we are excited to share with you our latest innovation - the use of microbes to clean pet hutches and control odours. This is so safe to use it can be sprayed directly with the pet still present, microbes can even help a pets coat improve and are used for cleaning pets as well as hutches and enclosures.
What are microbes, you may ask? Microbes are microscopic organisms such as bacteria and fungi that can be beneficial to both the environment and living beings. In the case of pet hutches, the use of microbes can offer various benefits such as:
1. Natural cleaning - microbes are known to break down organic materials,
including animal waste, into harmless by-products, thereby eliminating the need for harsh chemicals.
2. Odour control - microbes can quickly and effectively eliminate unpleasant
odours by consuming the source of the odour, resulting in a fresh and
clean-smelling environment for your pets.
It is organic natural and good for coats of
little small furies. It is a live liquid blend of environmental microbes mostly lactobacillus species.
Its benefits are around reducing ammonia and rotting in bedding. It has a
significant composting effect so breaking down the ammonia and nitrogen in soiled bedding.
This will lead to better and neutral smelling bedding. It also will keep
bedding dry for longer and when put out will create excellent compost for any horticulture.
It is a natural and organic product containing live microbes. These
lactobacillus bacteria compete with harmful pathogens. We are controlling the environmental microbes to positively benefit bedding animal health and the environment.
At Ecoshred Bed, we work with precision microbes who have developed an environmentally microbial solution that is specifically designed for cleaning pet hutches and controlling odours. Their solution contains a unique blend of beneficial bacteria and enzymes that work together to remove stains, break down organic matter, and neutralise odours.
Using our microbial solution is easy. Simply dilute the solution as directed
and apply it to the affected area. Let it sit for a few minutes, then wipe or
rinse away. For ongoing odour control, spray a small amount of the solution to your pet's litter box or hutch on a regular basis.
In conclusion, using microbes to clean pet hutches and to control odours is a safe and effective solution that benefits both pets and the environment. We hope you find this information helpful and consider trying our microbial
solution for your pet's health and well-being.
Wishing you all the best! Please watch the YouTube video below for a better understanding or contact Ecoshred Bed for more information!
Materials
- Precision Microbes Effective Microbes
- Cleaning cloths
- Spray bottle
Tools
- Spray Bottle, Cleaning cloths
